Getting started with Trixta
Browse to the IDE
The Trixta IDE (Integrated Development Environment) is the go to place to start building new software with Trixta. The IDE also helps monitor, make sense of, and improve on what may have already been built.
The IDE address is: ui.trixta.io
You’ll need to include a space domain to tell the IDE which space to connect to. The following url instructs the IDE to connect to the space that is found at [trixta-demo.space.trixta.io](http://trixta-demo.space.trixta.io)
https://ui.trixta.io/?space=trixta-demo.space.trixta.io
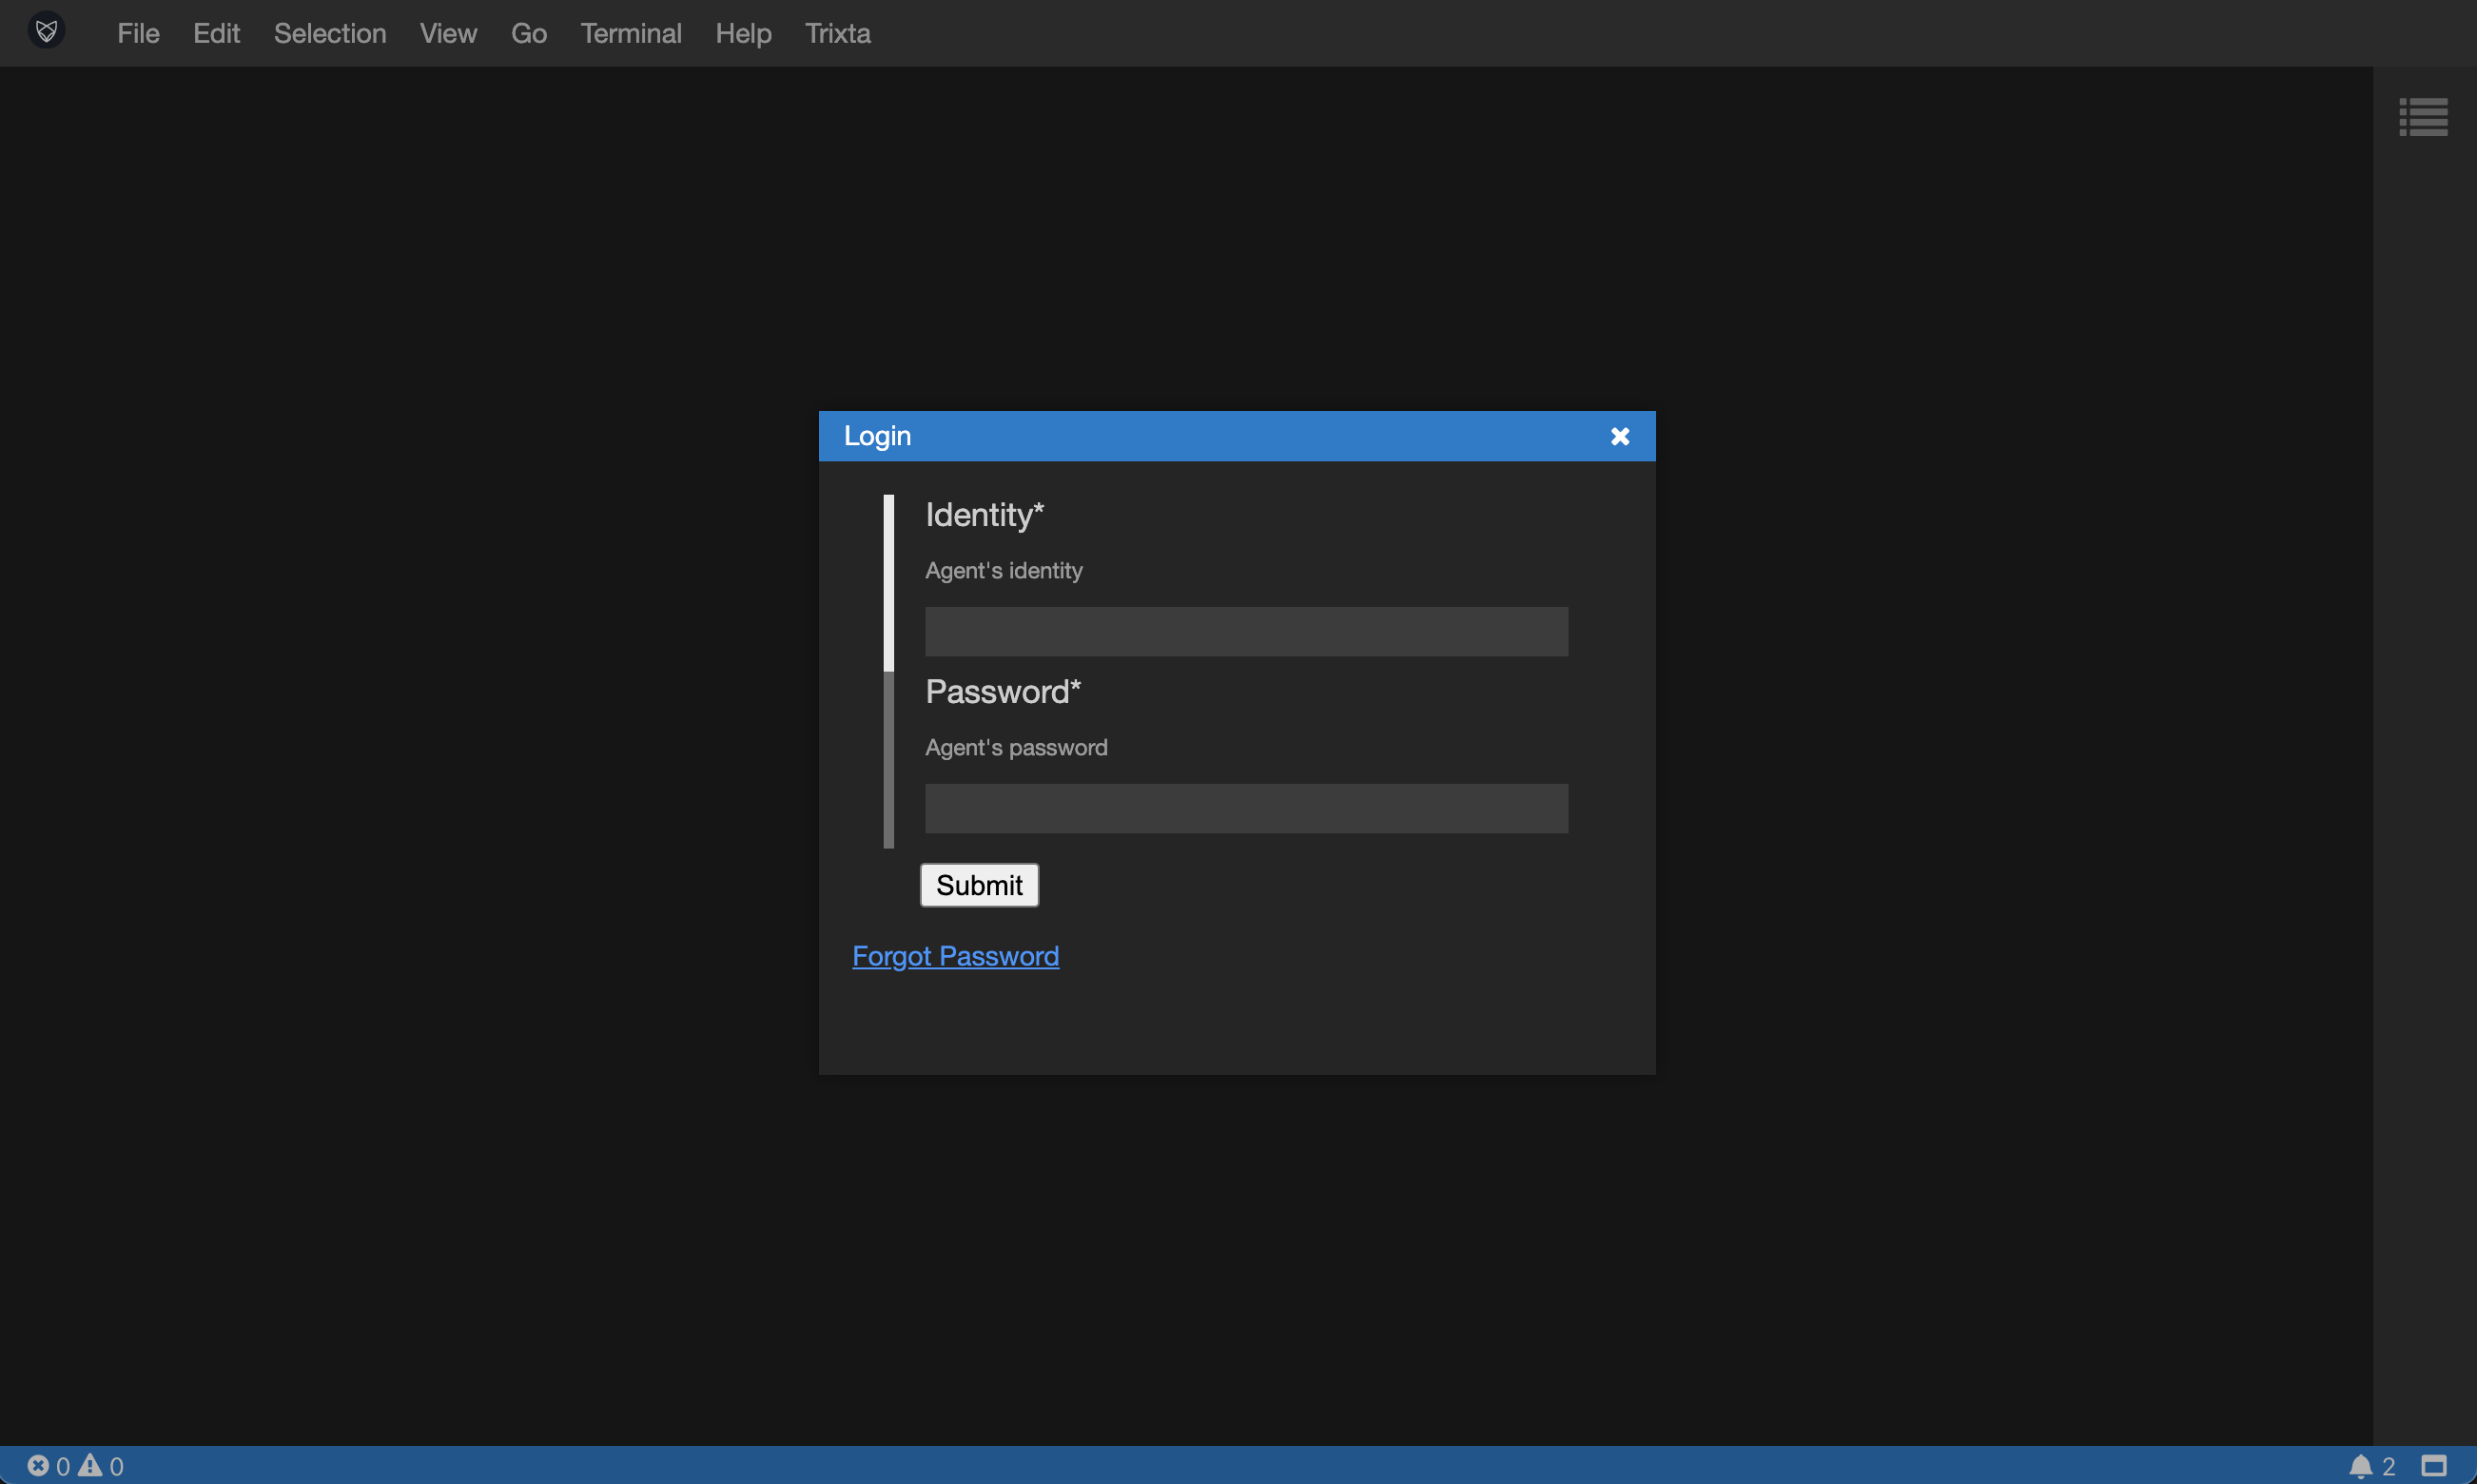
You can try the above link and, provided the space is running, you will be presented with a Login screen.
Your first load may take a while depending on a few factors. We are busy improving load speeds.
Before we continue past the login screen, let’s delve a little into what a Space is…
Understanding what a Space is
A Space is where you assemble and operate your software. A Space provides a context in which a team can gather, discuss and work towards a goal.
A metaphor that we will be using to explain some concepts coming up, is that of an orchestra, and in this case a Space is a concert hall. In the same way a concert hall is perfectly suited to hosting concerts, so is a Space suited for the purposes of assembling and operating software.
An organisation, depending on how complex it is, may have one or many Spaces (some isolated, some interconnected). All organisations can begin with one and split them up into multiple further down the line, so for now you only need to be concerned with one Space while you learn.
Specifying a Space to connect to
Each Space has an address, and provided you have access to it (it is not on a private network on which you have no access) you will be able to reach it via that address.
In the opening section the following url was given as an example:
https://ui.trixta.io/?space=trixta-demo.space.trixta.io
The address of the Space specified above is trixta-demo.space.trixta.io , this is a general purpose demo space with which you can use to get started with. We will help you create your own space at a later stage.
Logging in
When presented with a Login dialog, you’ll need to enter in your identity (usually your email) and your password. If you haven’t been provided these, please reach out to your Trixta contact to arrange these credentials.
We have plans to include sign up / sign in via Google, etc.
Important Note: First use panel visibility
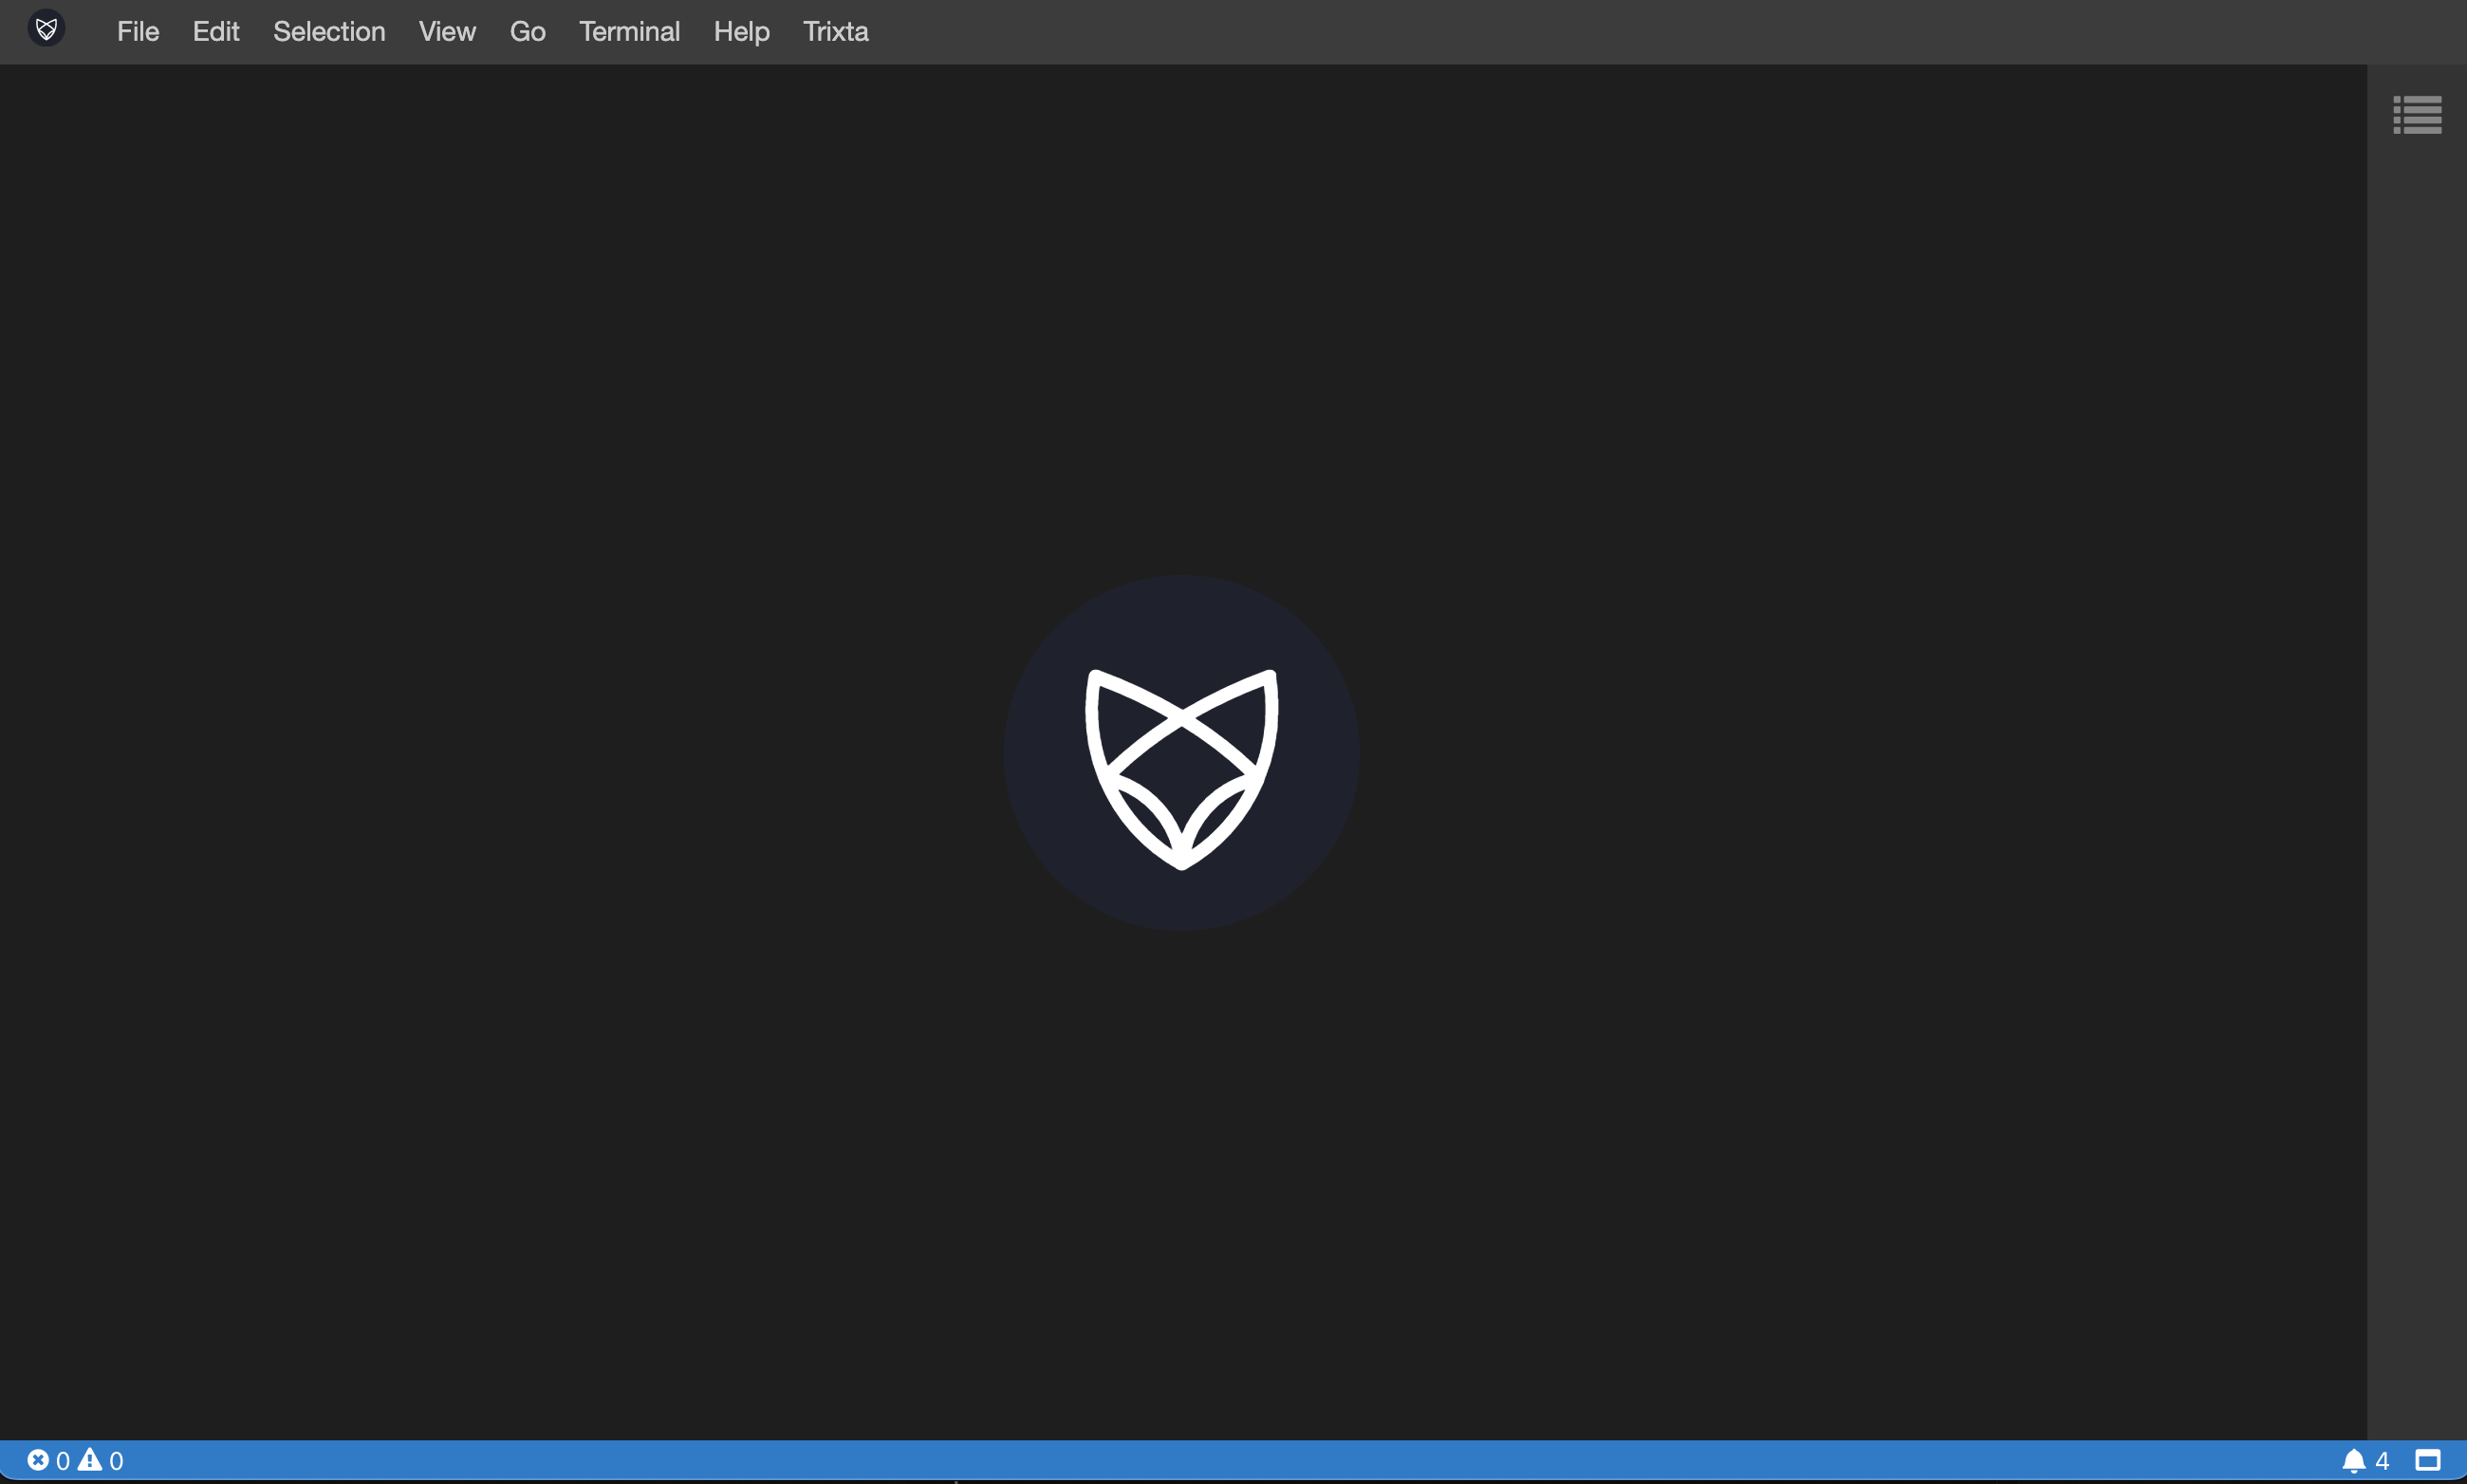
The very first time you use the IDE it will appear blank, we have some work to do here in terms of opening the correct initial views along with a getting started screen, but until we get there you‘ll will need to open up these views yourself.
Initially appears blank:
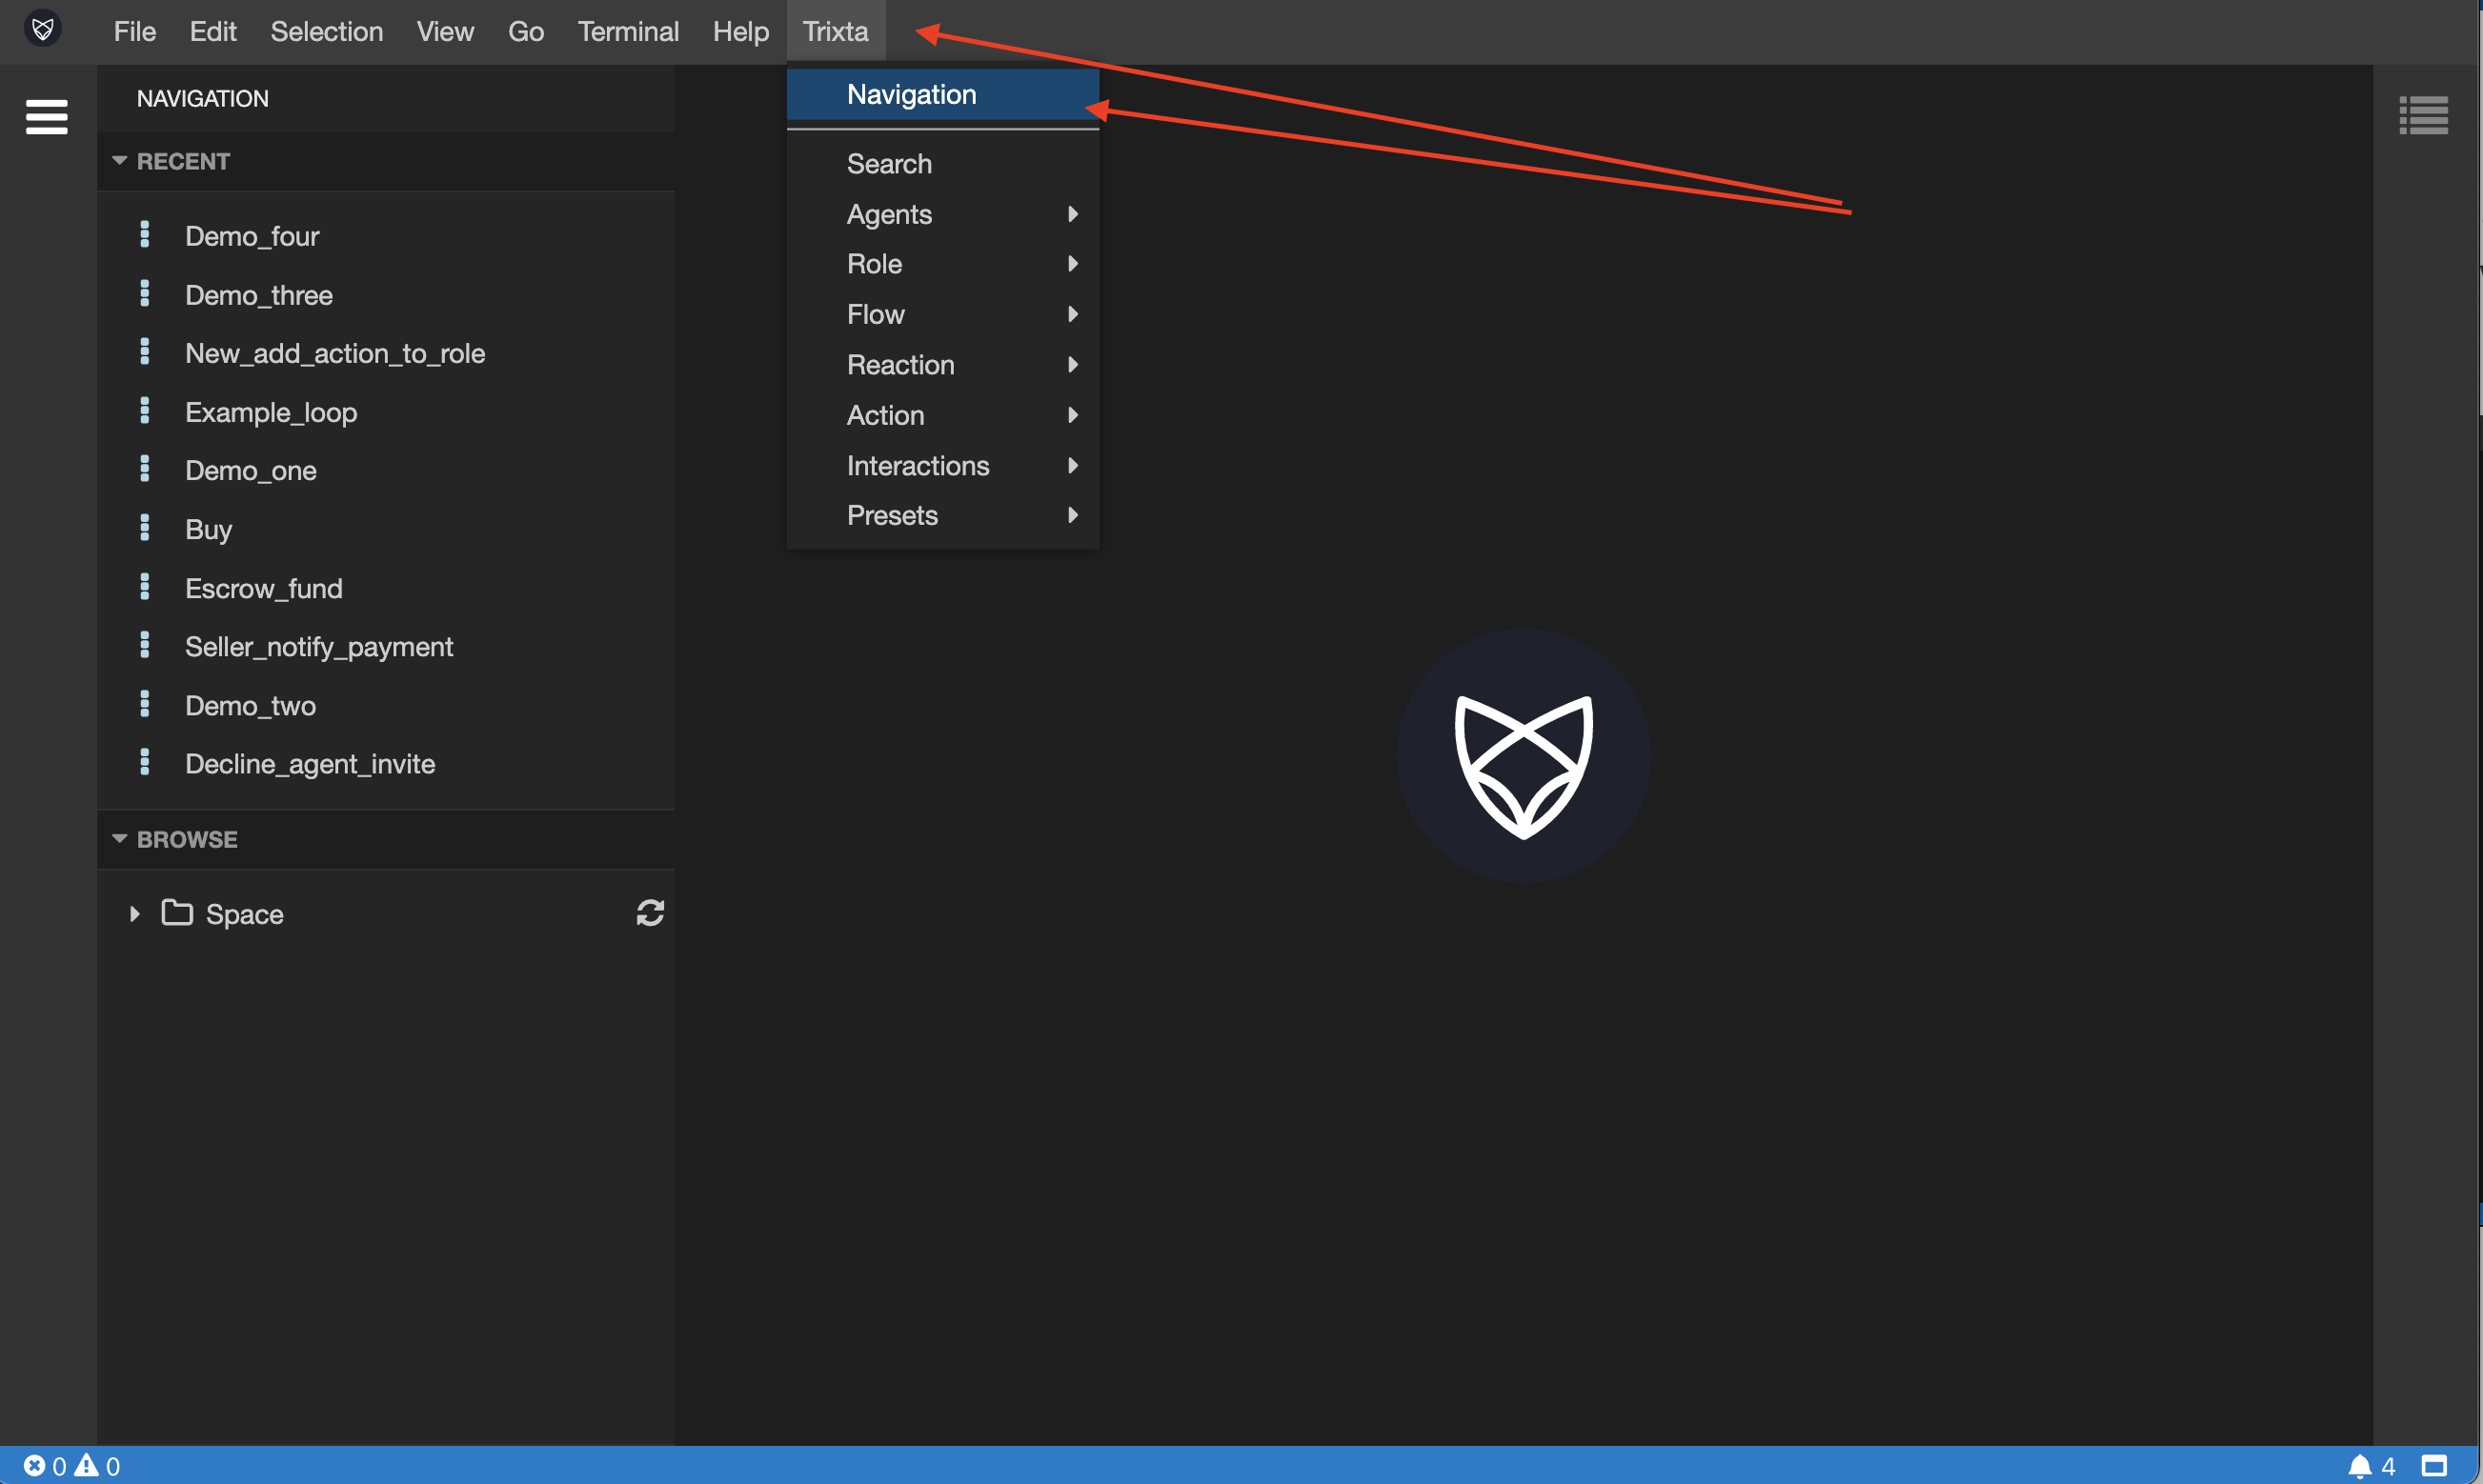
Find the Trixta menu item and select Navigation to reveal the navigation panel on the left. Repeat the process for Search
Left Panel
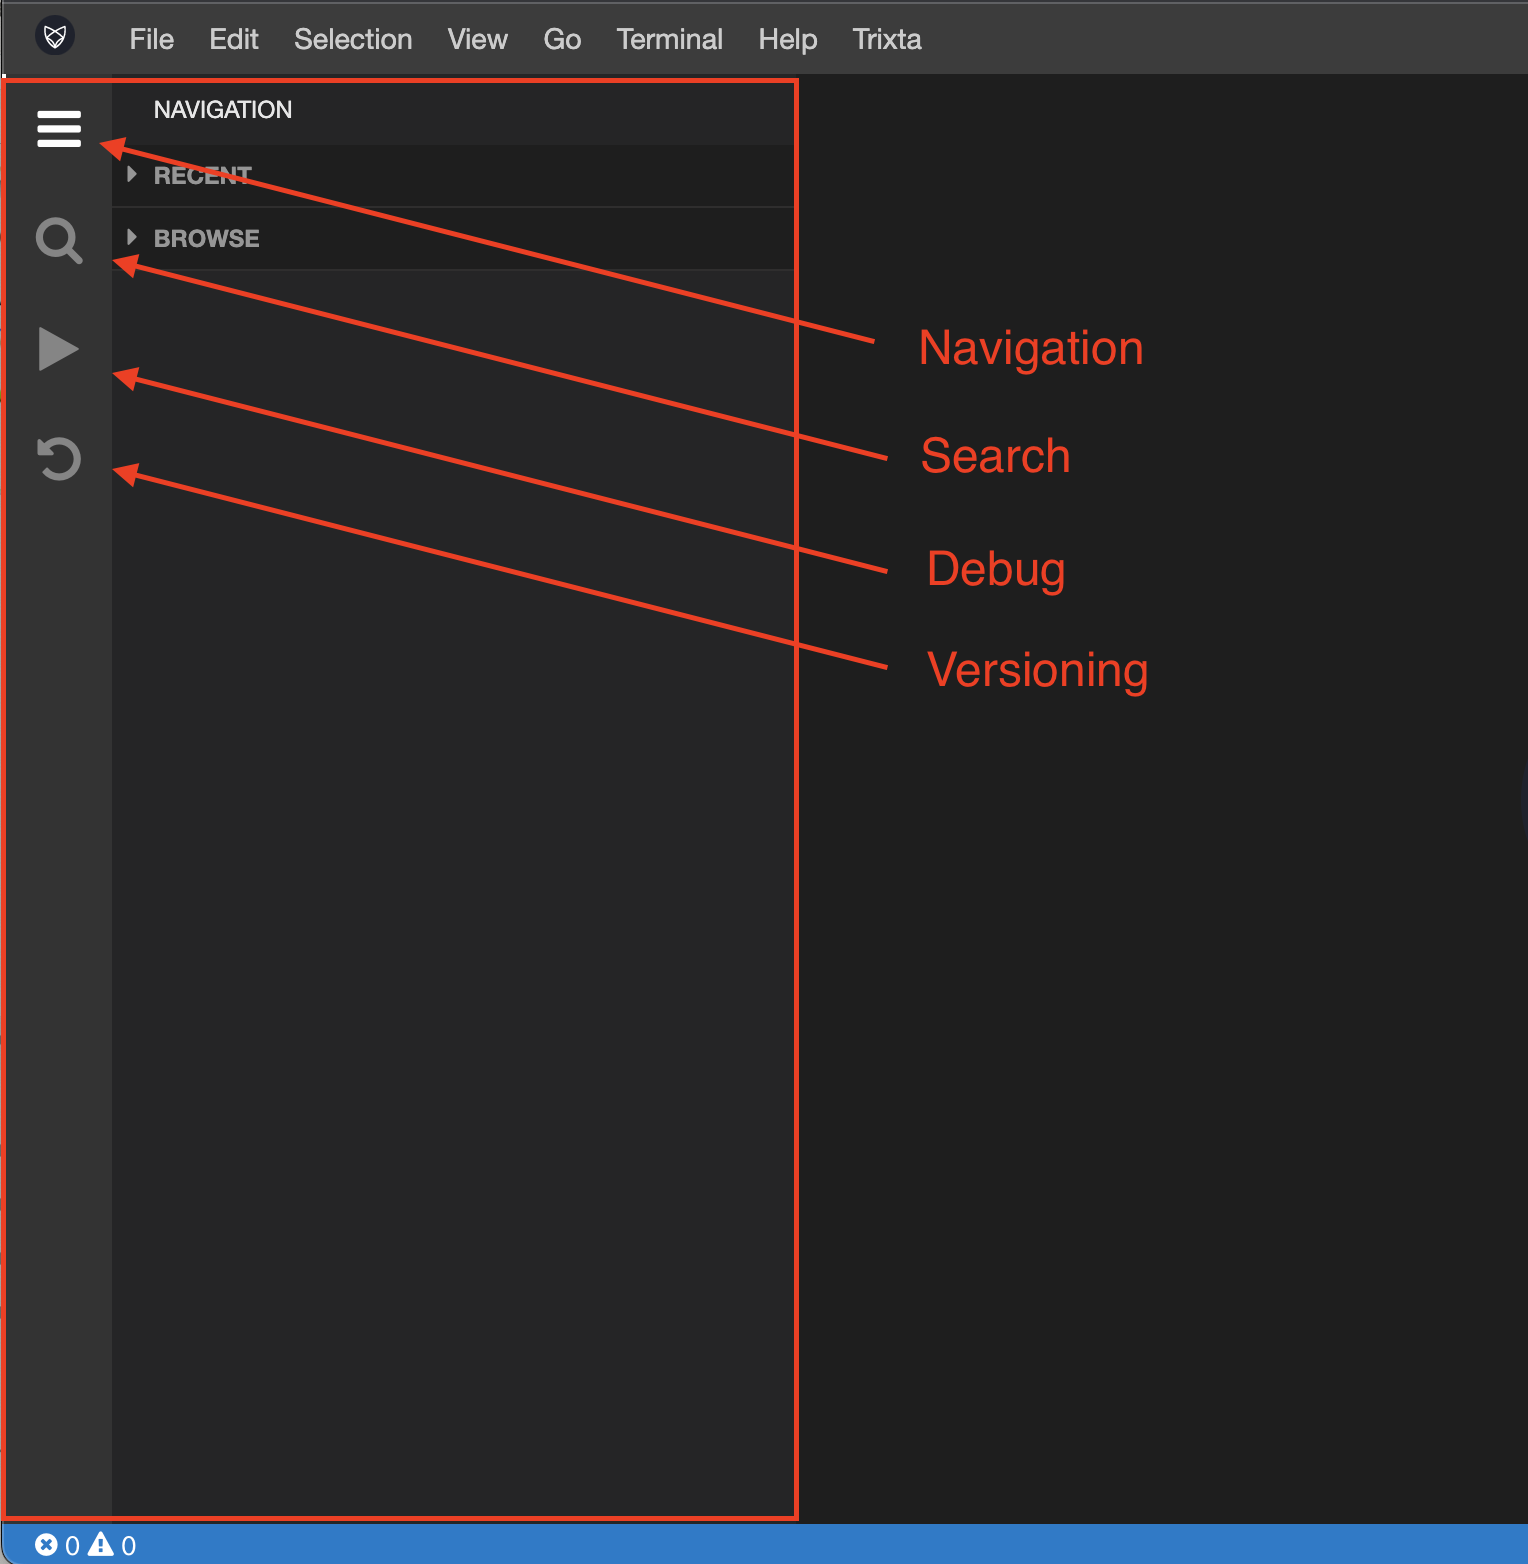
Navigation
The Navigation panel currently has two sub-panels, Recent and Browse.
Recent shows a list of your 10 last recently opened Items. This list is associated with your user account so it will be synced across different devices and sessions. It is useful to quickly pick up where you left off.
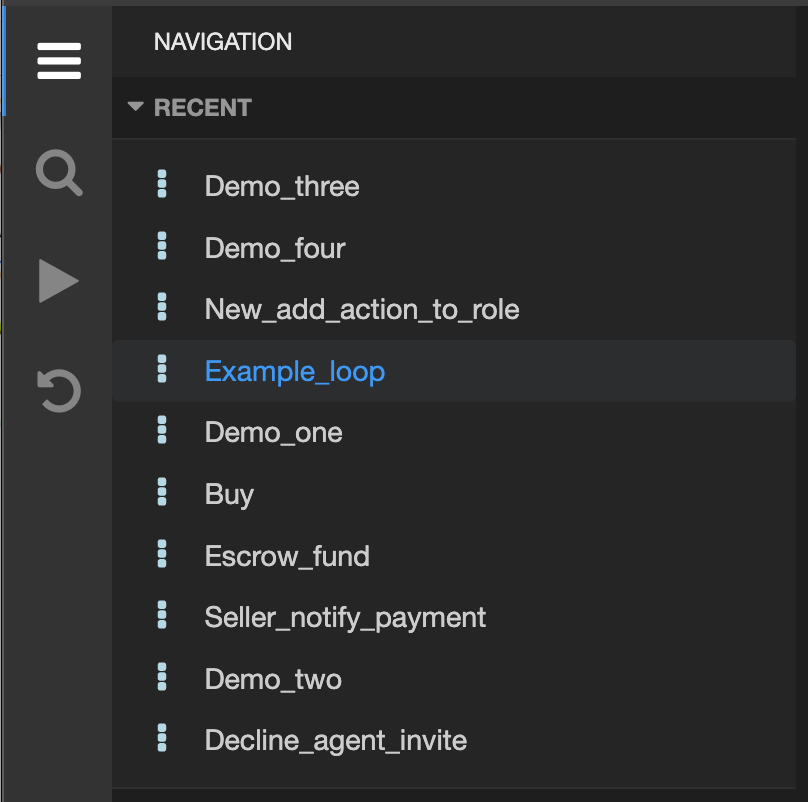
At this time only Flows are listed in the recent list. In later versions we may see other items listed here and potentially a means to filter by type.
The IDE has its fair share of quirks still and sometimes needs a refresh, in this case the recent list helps you get right back to what you were working on.
Browse shows a tree structure with everything inside the Space. This can be used to orientate, find and open various different views.
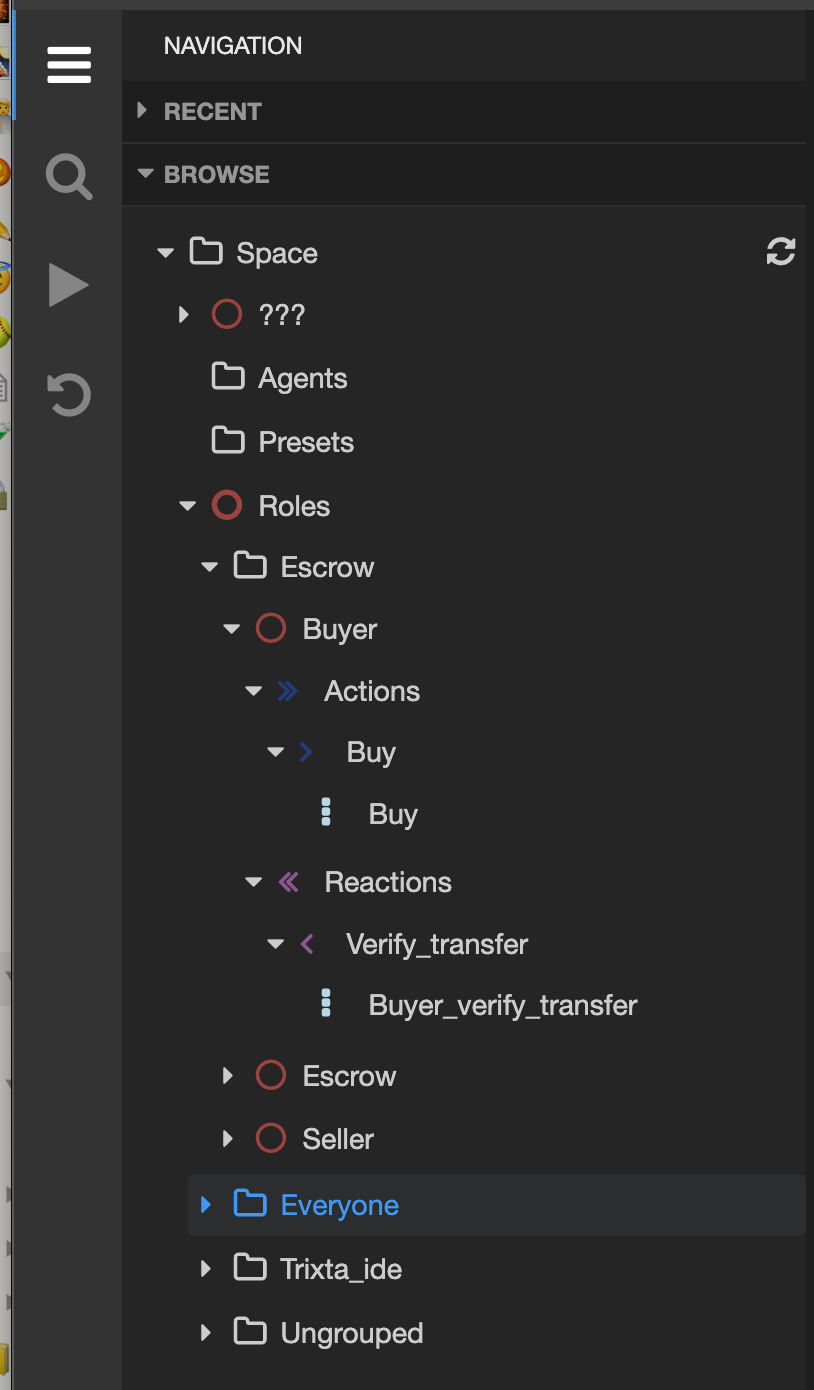
Currently we require that you click the refresh button (top right) after making a change like adding or removing something from the space. In future this will be automatic.
Search
The Search panel currently has two sub-panels, Space and Step.
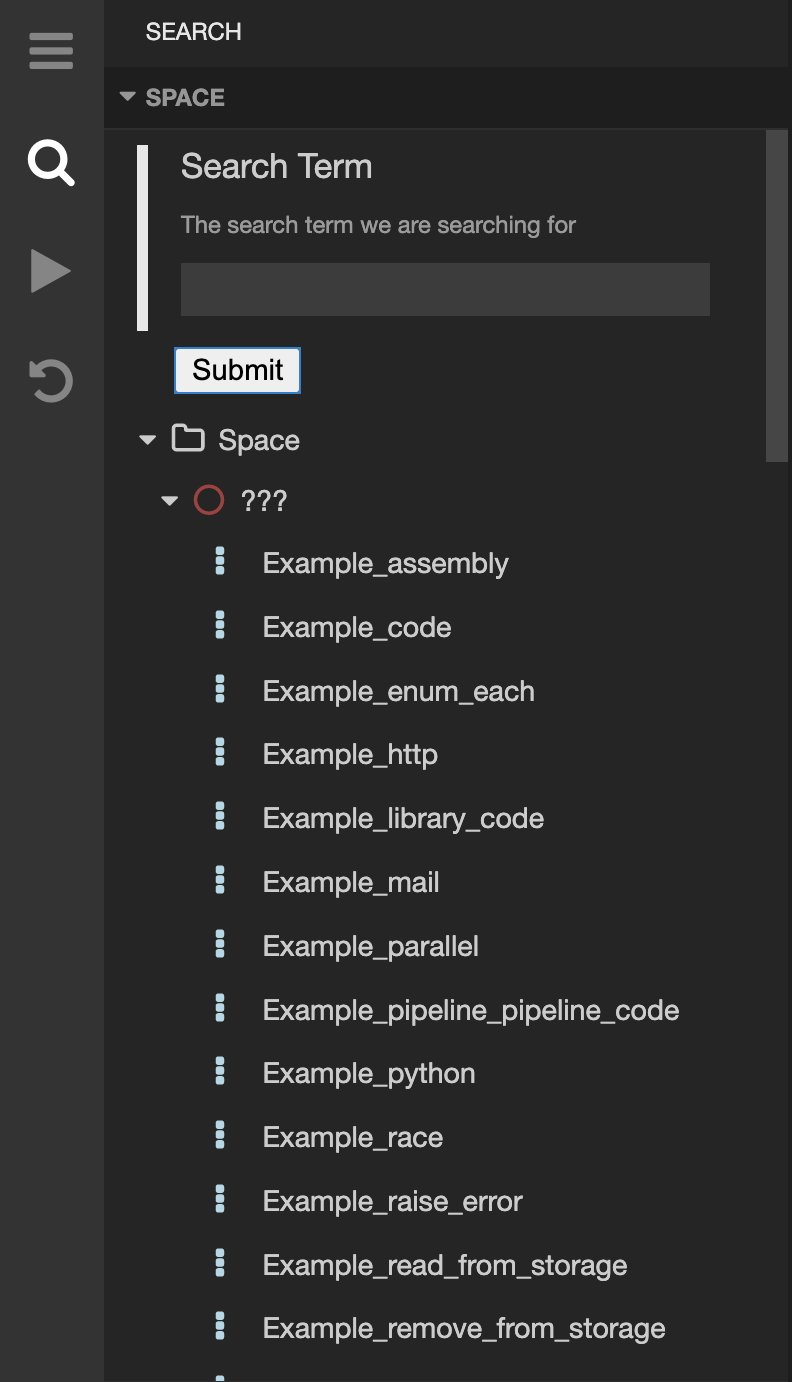
Space search is a general search across the entire space for items whose names contain the text you are searching for. You will be presented a tree structure similar to that of the browse panel, except only containing items whose names match.
In the below screenshot the word “example” was searched for.
Step (Advanced)
Debug (Advanced)
Versioning (Advanced)
Middle Panes
Visualisation
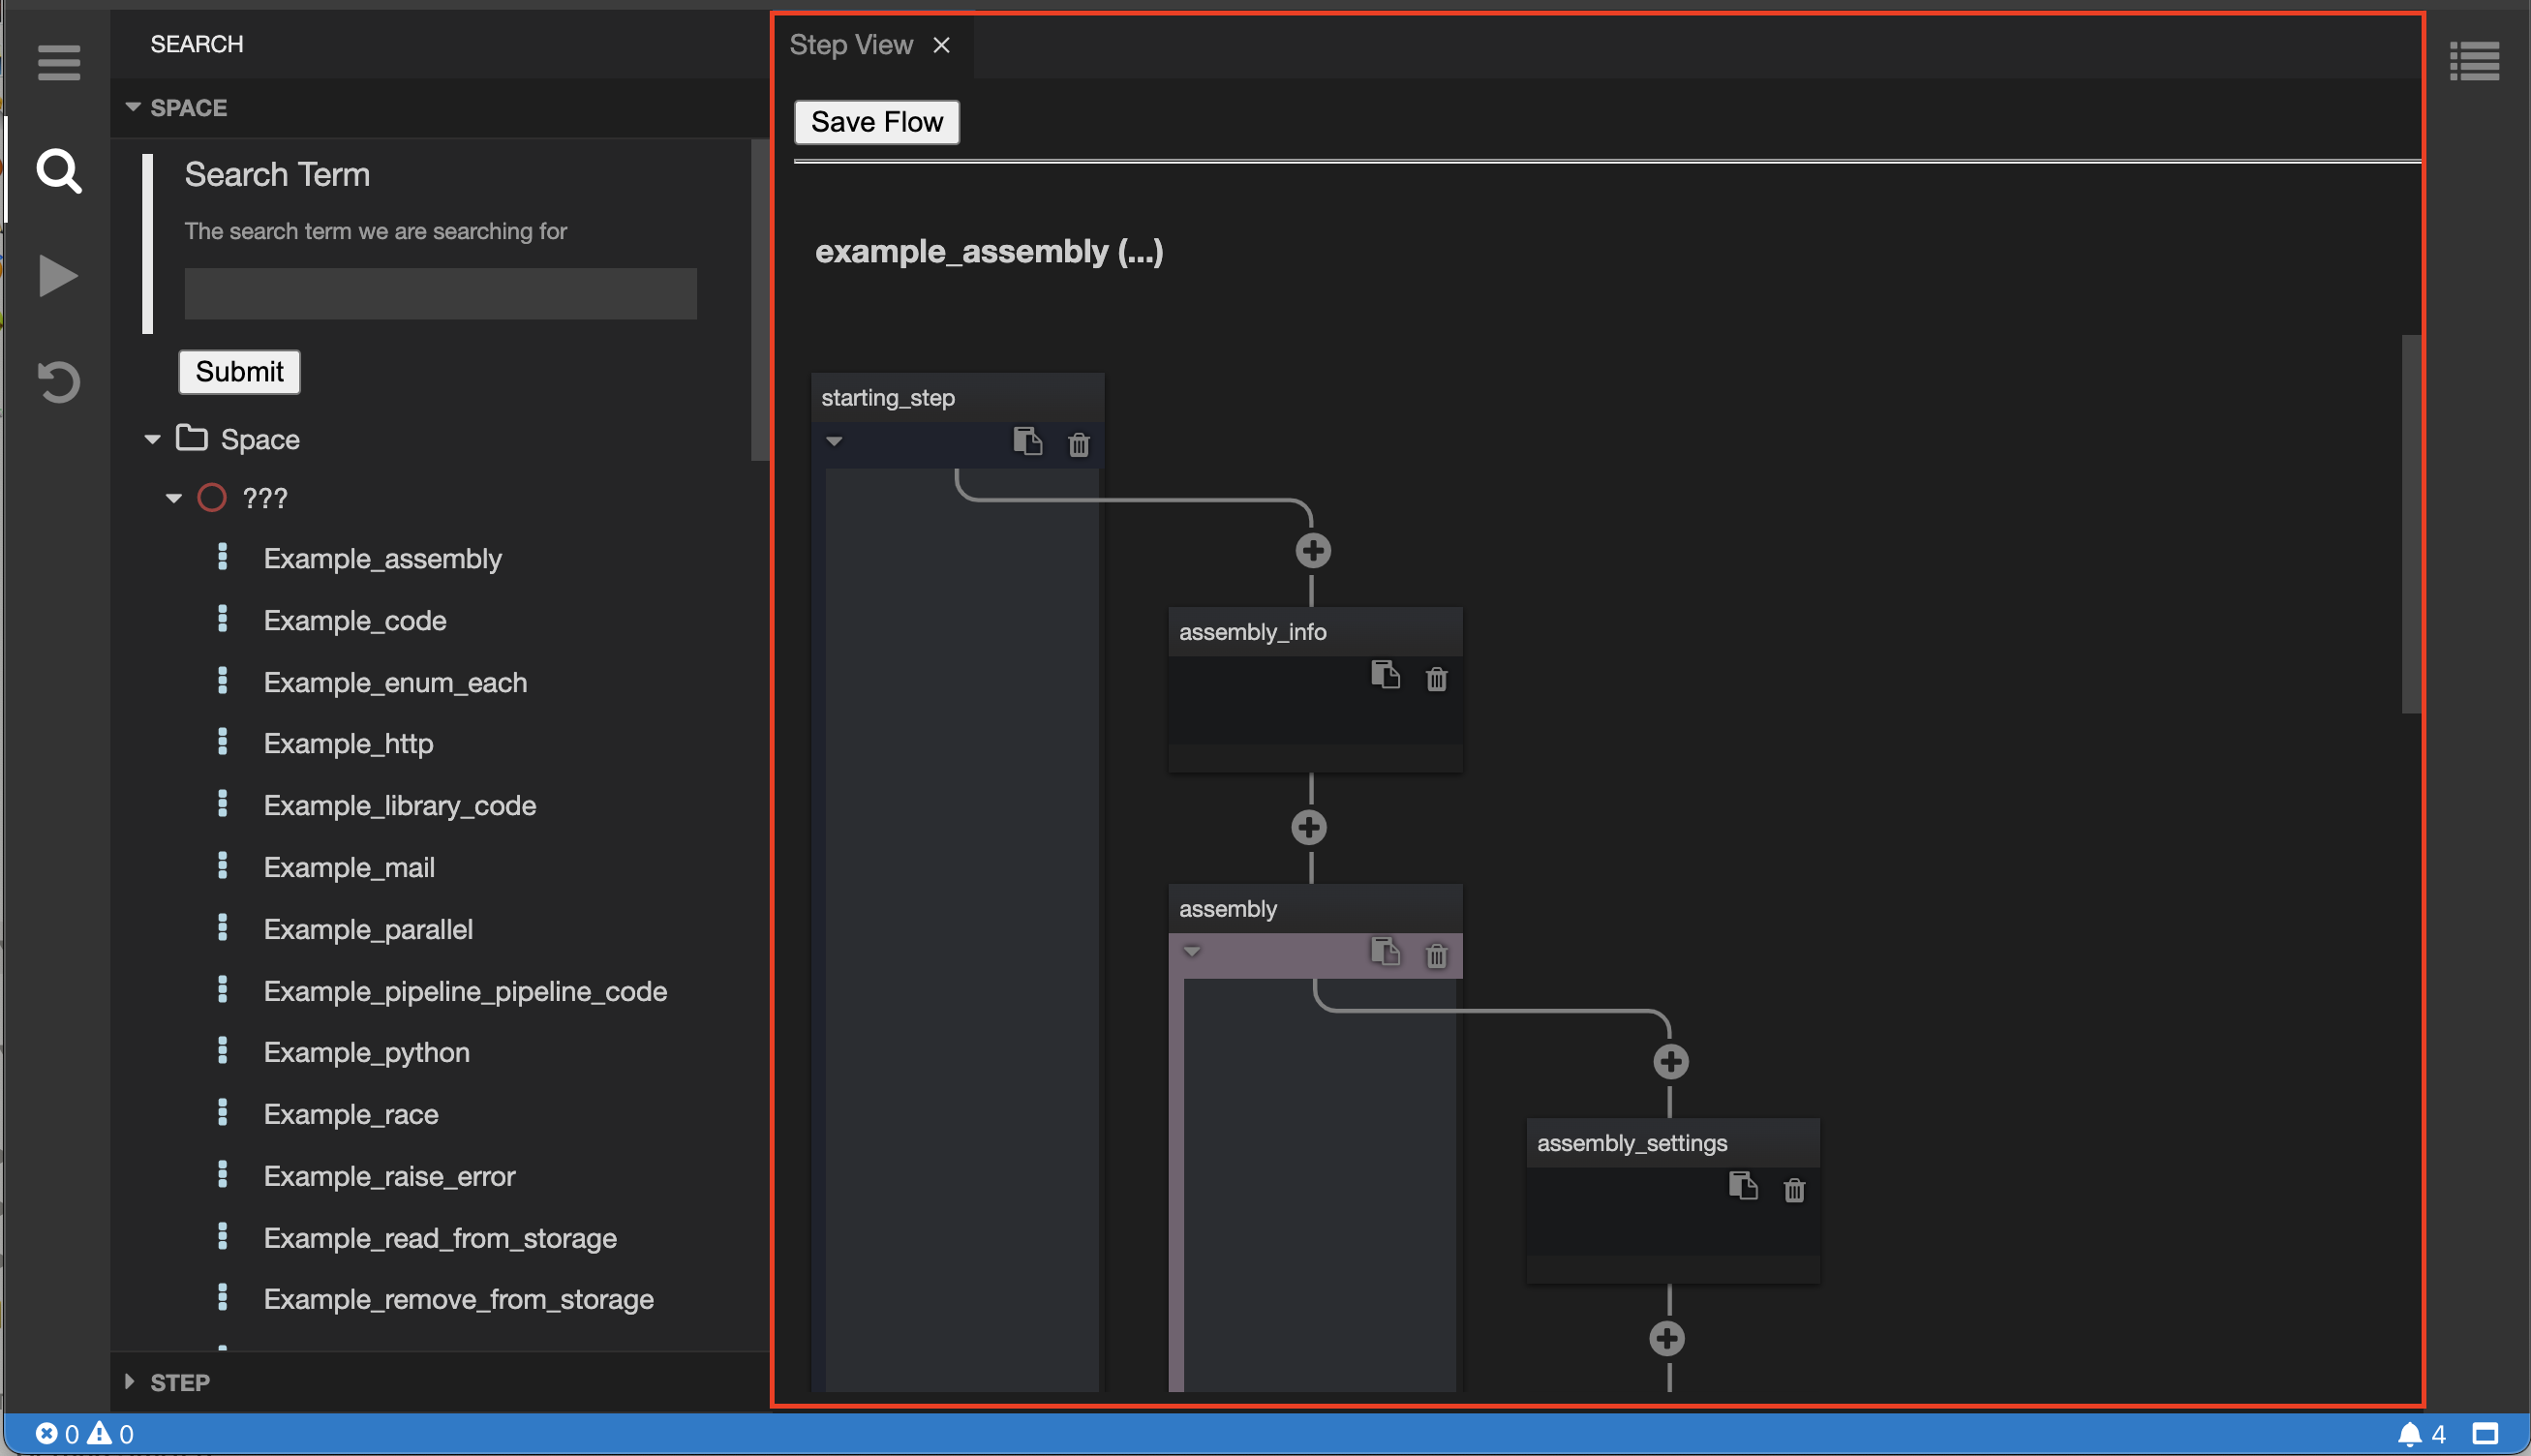
Whenever an item is selected in the navigation or search, we will show a view, in the middle pane, that represents the item selected. Here the user interface can show whatever is most useful for the selected item. In most cases we provide context, show associated items, provide create and remove options and generally a way to select something in particular for editing.
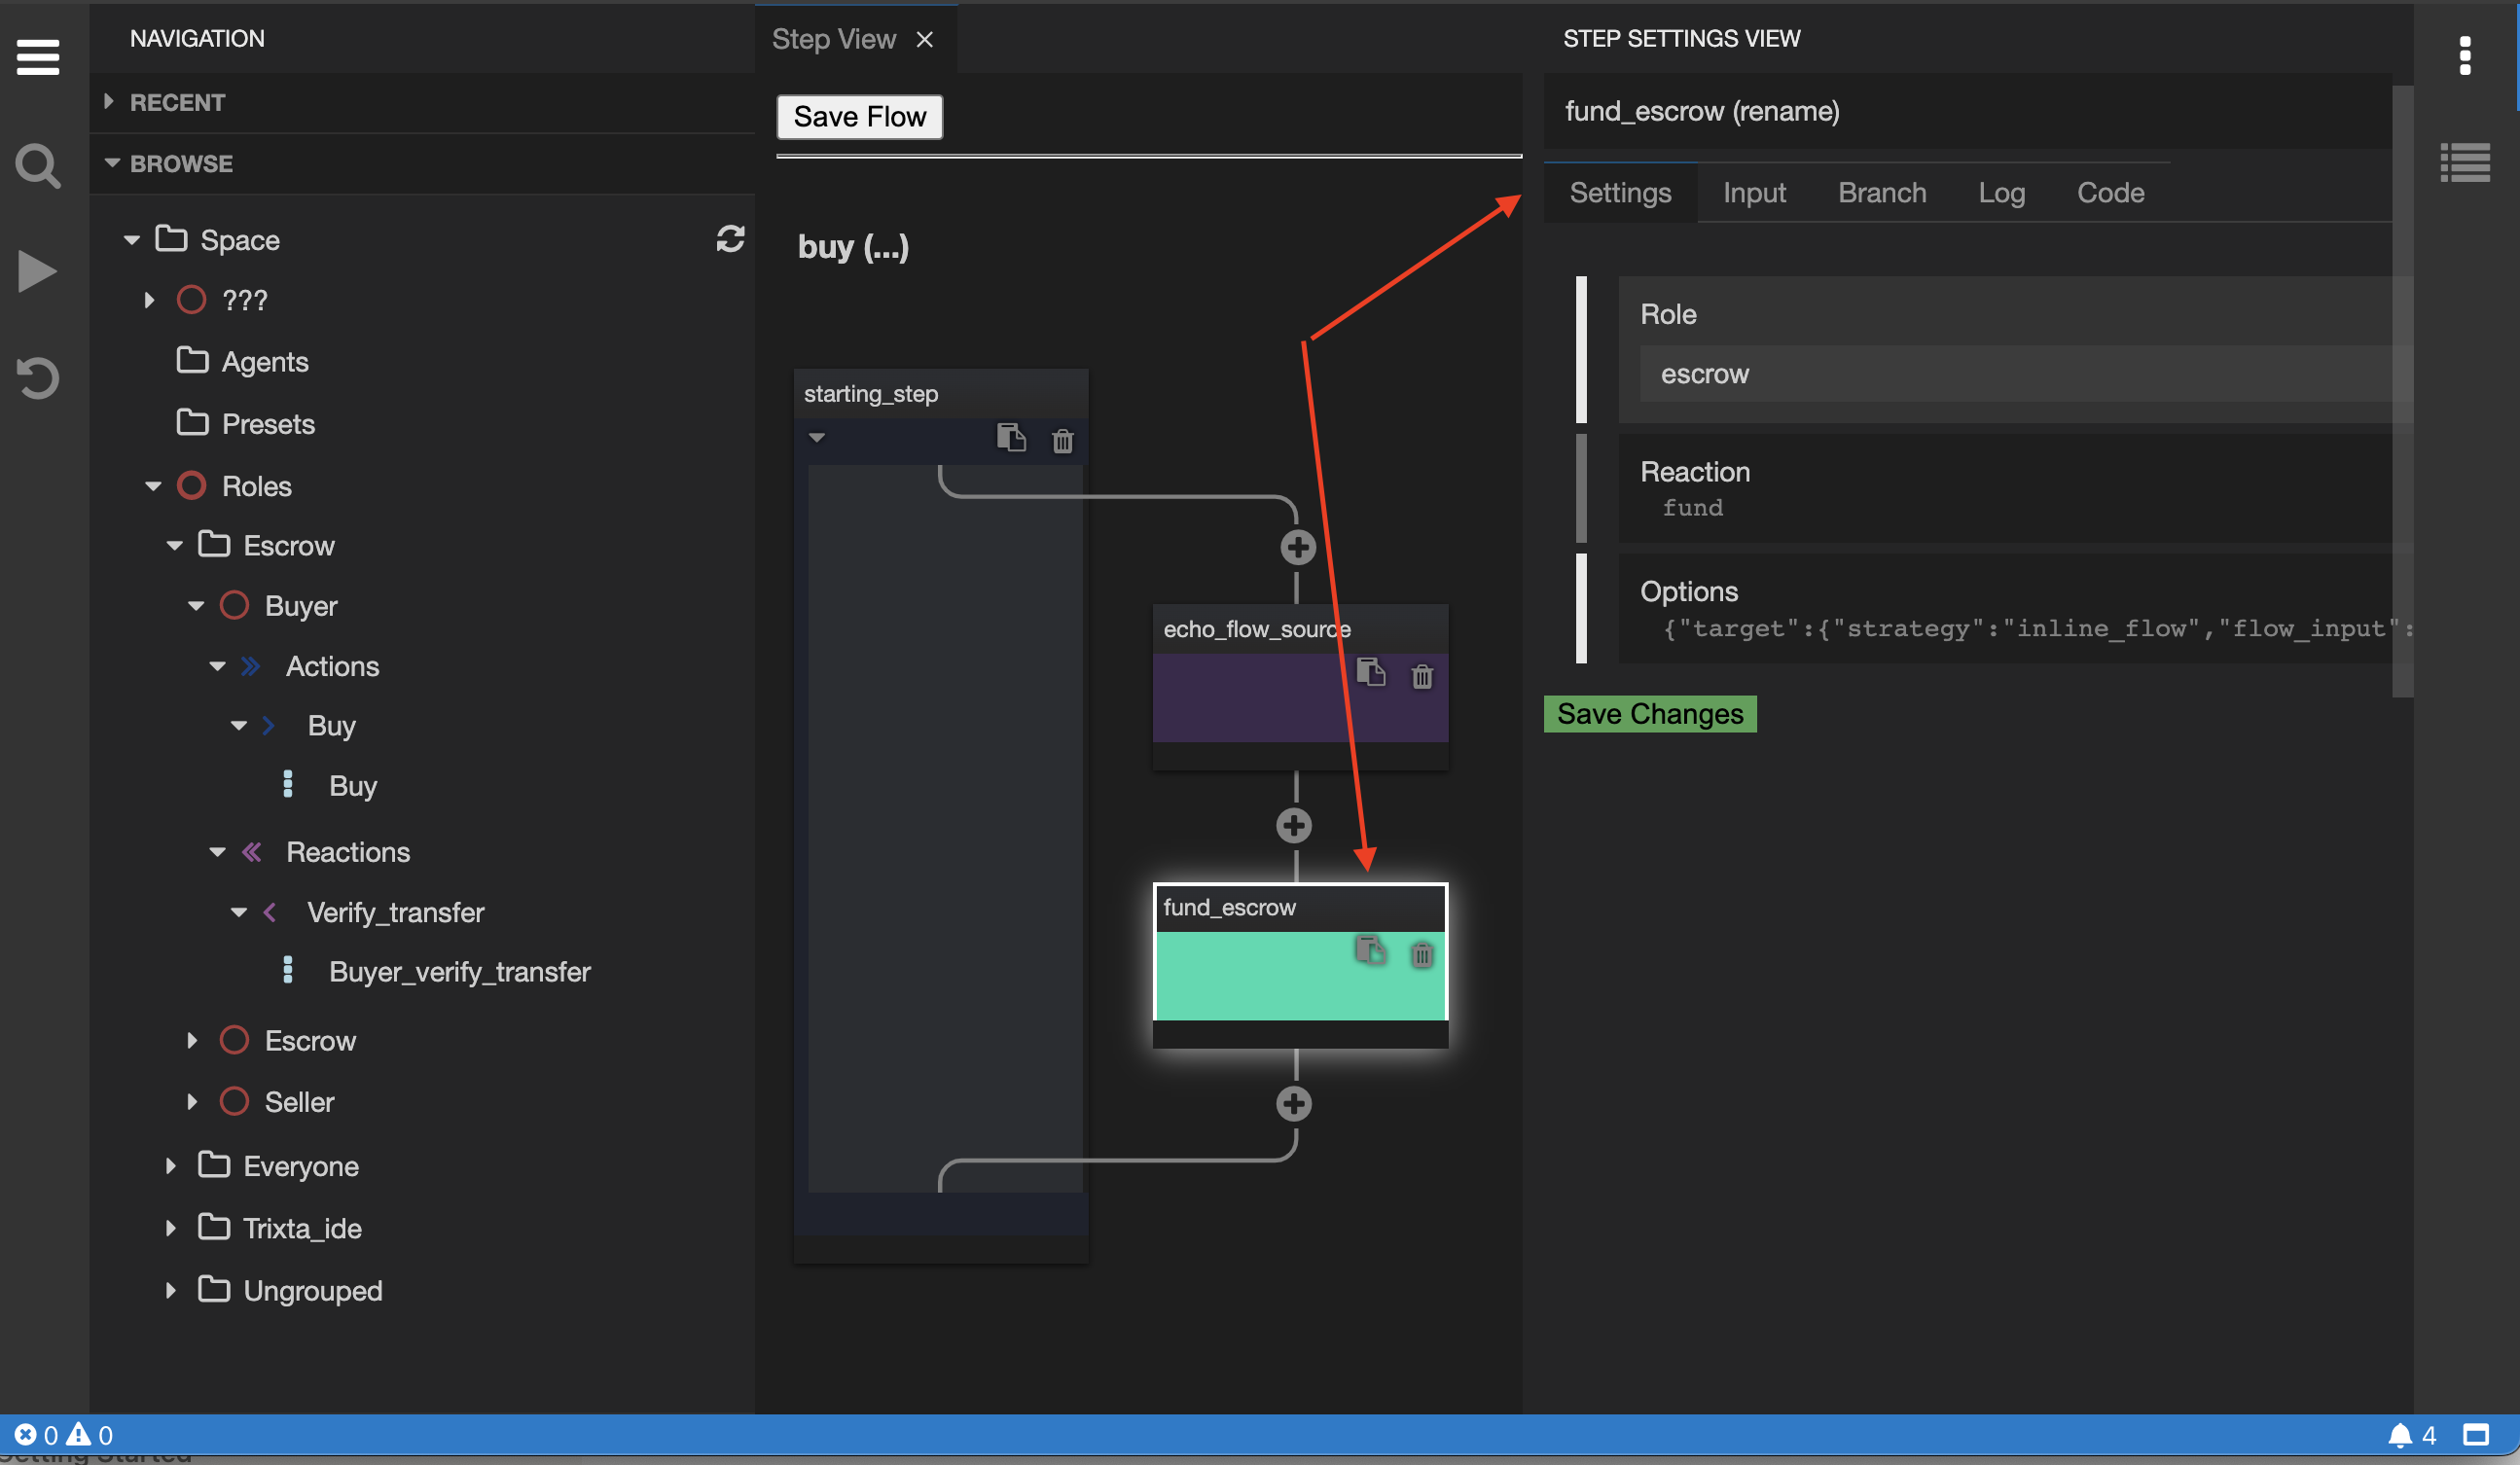
The following is a step view / aka flow view. The view resembles a flowchart of sorts and is suited for understanding how the various steps within the flow are composed.
Overlays (Advanced)
Right Panel
The right panel is generally used to display and edit the details of something you select in the middle pane. Here you will find the system’s most custom and differentiated user interfaces. Instructions and help on how best to work with them should ideally be found along with the panel.
Settings
Settings for anything that is selected is usually highly specific and dependent on what it is that was selected. In the following examples and step was selected of a particular type, the settings of that type are displayed in the right panel. At this point you could view or edit the settings.
Save Changes
Currently, in order for changes to take effect, you will need to make use of the green “Save Changes” button found at the end of a Setting tab. In future, we will make this automatic.